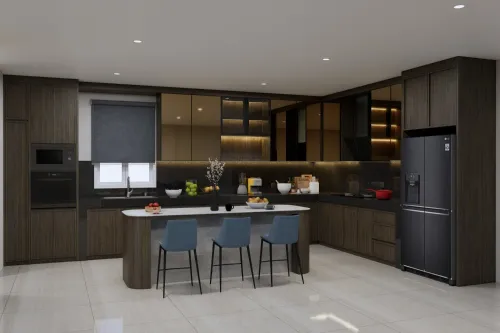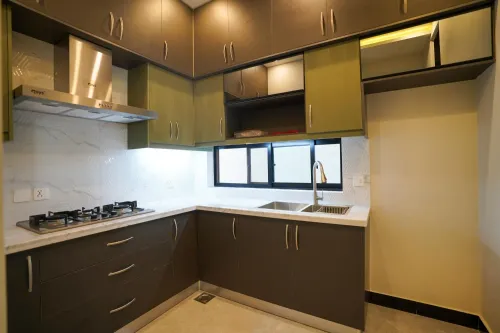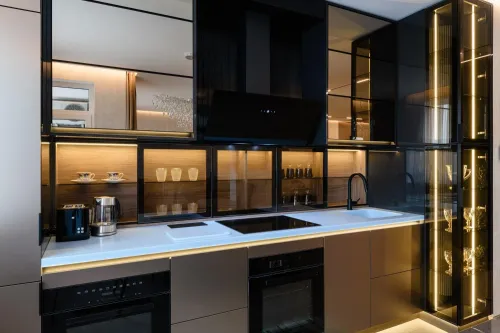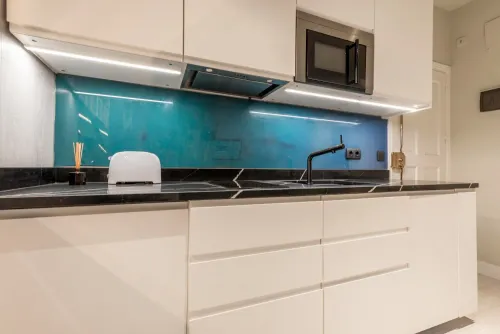

A successful acrylic kitchen installation depends on more than fixing cabinets to a wall: inaccurate measurements, unfinished services, late appliance choices, and unclear vendor responsibilities can all cause rework. By following the project in the correct order, you can approve the right drawings, prepare the room, track delays, and verify the finished kitchen before handover.
Key takeaways
- Freeze measured drawings before ordering acrylic kitchen units.
- Finish plumbing, electrical points, flooring, and appliance checks before delivery.
- Install base units, wall units, countertop, shutters, and hardware in sequence.
- Record alignment, appliance tests, finishes, and defects at handover.
Start with a Site Survey and Freeze the Kitchen Drawings
Production must wait until the site survey and drawings match the actual room. Measuring one horizontal line is not enough: uneven walls, inaccurate floor levels, or a misplaced service point can create countertop gaps, fillers, and appliance-fit problems during acrylic modular kitchen installation.
1. Record wall-to-wall dimensions at several heights, plus ceiling height, floor-level differences, wall squareness, beams, columns, shafts, and door clearances.
2. Measure every window and sill, including its distance from each corner. Mark plumbing points, drain locations, electrical points, gas-line position, chimney exhaust provision, and accessible service zones for filters, regulators, cables, traps, and shut-off valves.
3. Confirm the exact model dimensions of the refrigerator, hob, sink, chimney, dishwasher, microwave, and water purifier. Note ventilation clearances, appliance niches, cut-outs, plug locations, and cable routes before fabrication.
4. Approve the floor plan, elevations, carcass layout, shutter schedule, hardware list, appliance cut-outs, countertop plan, and electrical-point plan. Each drawing must show unit labels, opening directions, drawer sizes, fillers, end panels, skirting, service voids, countertop overhang, and hardware specifications.
Freeze these documents in writing before production begins. Changing a sink, hob, chimney, or refrigerator after fabrication can force costly site alterations. This approval point anchors the modular kitchen project process and gives installers a fixed reference for checking the room, services, and delivered components.
Prepare the Room, Services, and Appliances Before Delivery
The room must be dry, finished, and service-ready before cabinets and acrylic panels arrive. Good kitchen design and installation depends on completing dusty work first; acrylic modular kitchen installation should not become a workaround for wet plaster, uneven flooring, or missing connections.
1. Finish plastering, tiling, painting, and ceiling work. Remove construction debris, confirm the floor is level, and let fresh plaster and paint dry fully. In Thane’s monsoon humidity, do not store board components against damp walls or on a wet floor.
2. Complete the service points shown on the approved drawings. Install hot and cold water lines, the drain outlet and trap position, filter point, gas line or regulator location, chimney opening, and electrical circuits before delivery.
3. Keep every isolation valve, drain trap, regulator, and appliance socket accessible. Do not bury services behind a fixed panel; a hidden leak or failed valve can force cabinet dismantling. Label circuits and confirm that sockets sit clear of drawers and appliance bodies.
4. Recheck the actual appliances against the frozen schedule. Confirm the refrigerator, dishwasher, oven, hob, chimney, sink, tap, and water filter dimensions, ventilation clearances, plug locations, and gas connection route. A changed hob or sink after fabrication can require countertop cutting on site.
5. Clear a protected path from the building entrance to the kitchen and reserve dry indoor storage space. Cover finished floors and keep other trades away until delivery is inspected against the unit list and finish references.
Follow the Correct On-Site Installation Sequence
Protect the floor, walls, lift route, and finished surfaces before materials enter. For acrylic kitchen installation steps, a turnkey interior solution provider should verify the approved drawings, appliance dimensions, service points, and reference levels on site before fixing anything.
1. Confirm the plumbing and electrical rough-ins first. Check water, waste, gas, socket, chimney duct, and appliance points against the final plan; correct misplaced services before cabinets conceal them.
2. Level and anchor the base cabinets, then install tall units and wall cabinets. Fix fillers, skirting, end panels, and service gaps only after doors and clearances match the drawings.
3. Measure the countertop after the base units are level, fixed, and joined. Mark sink, hob, tap, filtered-water, and dishwasher openings from the actual templates, not from approximate cabinet dimensions.
4. Install the countertop and seal its joints. Cut and fit the sink and hob, then connect the sink waste, water lines, tap, and dishwasher hose without obstructing isolation valves.
5. Mount the chimney after confirming the duct path, height, bracket strength, and power point. Fit the refrigerator, oven, dishwasher, and other appliances with their required ventilation gaps.
6. Complete final electrical connections only after appliances are in position. Test dedicated circuits, switches, earthing, chimney operation, hob ignition, and access to every isolator.
7. Finish hardware installation and commissioning. Check shutter gaps, drawer alignment, soft-close action, countertop level, drainage, leaks, ventilation, and appliance operation before recording snags.
Kitchen design and installation is complete only after those tests pass and the installer cleans the work area, explains controls, and records responsibility for any remaining correction.
Compare Turnkey Execution with Separate Thane Vendors
An all-in turnkey kitchen package covers more than cabinet installation. It coordinates the modular kitchen project process from production release through society permissions, delivery slots, protection of lifts and corridors, debris removal, countertop work, appliance fitting, plumbing, electrical connections, and snag closure.
| Option | What it means | Main risk |
|---|---|---|
| Turnkey kitchen execution in Thane | One turnkey interior solution provider manages the schedule, trades, site coordination, and handover | A missed permission or service point can delay the whole package, so responsibilities must be written down |
| Separate Thane vendors | You appoint the carpenter, countertop fabricator, plumber, electrician, appliance installer, and transporter independently | Each trade can blame another for incorrect cut-outs, damaged acrylic panels, leaks, or delayed rectification |
| Turnkey with defined exclusions | One coordinator manages the work, while you retain named tasks such as appliance supply or gas connection | An unclear boundary creates disputed costs and unfinished connections |
Before signing, ask who supplies appliances, provides electrical and plumbing points, makes countertop cut-outs, connects gas and electrical appliances, obtains society approval, books lift and unloading times, and repairs damage caused by another trade. Confirm that drain traps, filters, regulators, sockets, cables, and shut-off valves remain accessible rather than sealed behind fixed panels.
A provider such as DESIGNO CASA should attach these duties to the quotation, approved drawings, schedule, and snag process. Separate vendors can cost less initially, but you become the project manager when measurements conflict or the installation sequence changes.
Related product
 | Modular Furniture Premium Acrylic Modular Kitchen Luxury Kitchen with premium acrylic finish. View product → |
Inspect, Test, and Record the Handover
Accept the completed kitchen only after every door, service, and appliance has passed a commissioning check; visual completion is not proof of successful kitchen design and installation.
1. Inspect acrylic faces under bright, side-angle light. Remove protective film before handover and check for scratches, chips, bubbles, colour mismatch, cement marks, and adhesive residue. Do not let anyone scrape the finish with a blade; ask for safe removal and polishing.
2. Open every shutter and drawer fully. Check even gaps, aligned edges, smooth runners, soft-close action, handle tightness, and clearance from walls and appliances.
3. Place a spirit level on the countertop. Run water into the sink, confirm fast drainage, and check the tap, waste trap, flexible hoses, and isolation valves for leaks. Ensure filters, regulators, sockets, and appliance cables remain reachable.
4. Test the hob, chimney, lights, sockets, and each connected appliance under normal operation. Confirm the hob and chimney fit their cut-outs, ventilation paths remain open, and no circuit trips.
5. Photograph each defect and record its location, required correction, responsible installer, and closure date. Recheck every item before signing acceptance, including replacements and touch-ups.
During acrylic modular kitchen installation, do not accept a promise that a snag will be fixed later without a written record. Collect the approved layout, finish reference, appliance and hardware warranties, cleaning instructions, service contacts, and final snag-closure sheet.
Clean acrylic with a soft cloth and approved non-abrasive cleaner; avoid scouring pads, powdered cleaners, and solvents unless the finish manufacturer permits them.
Frequently asked questions
Why must the site survey happen before acrylic kitchen production?
The survey confirms wall dimensions, floor levels, service points, openings, and appliance clearances before drawings are frozen.
What must be ready before the kitchen is delivered?
Complete flooring, plumbing, electrical points, ventilation, gas provisions, appliance dimensions, and clear access for delivery.
What is the correct acrylic modular kitchen installation sequence?
Prepare the room, level the base units, install panels and wall units, fit the countertop, mount shutters and hardware, then connect appliances.
How does turnkey kitchen execution differ from separate Thane vendors?
A turnkey provider coordinates measurements, drawings, fabrication, delivery, installation, services, and handover through one project process.
What should you inspect during kitchen handover?
Check cabinet alignment, gaps, shutter movement, countertop joints, edge finishes, plumbing, electrical points, appliance operation, and recorded defects.
Keywords